4 Steps to Organize a Kitchen Effectively
If you’re starting off on your minimizing journey, your kitchen is a great place to begin! Whenever a client is unsure what space to organize first, we often recommend the kitchen or clothing because the categories are very straightforward and highly used. Whether your kitchen is large or small, the tips below will apply.
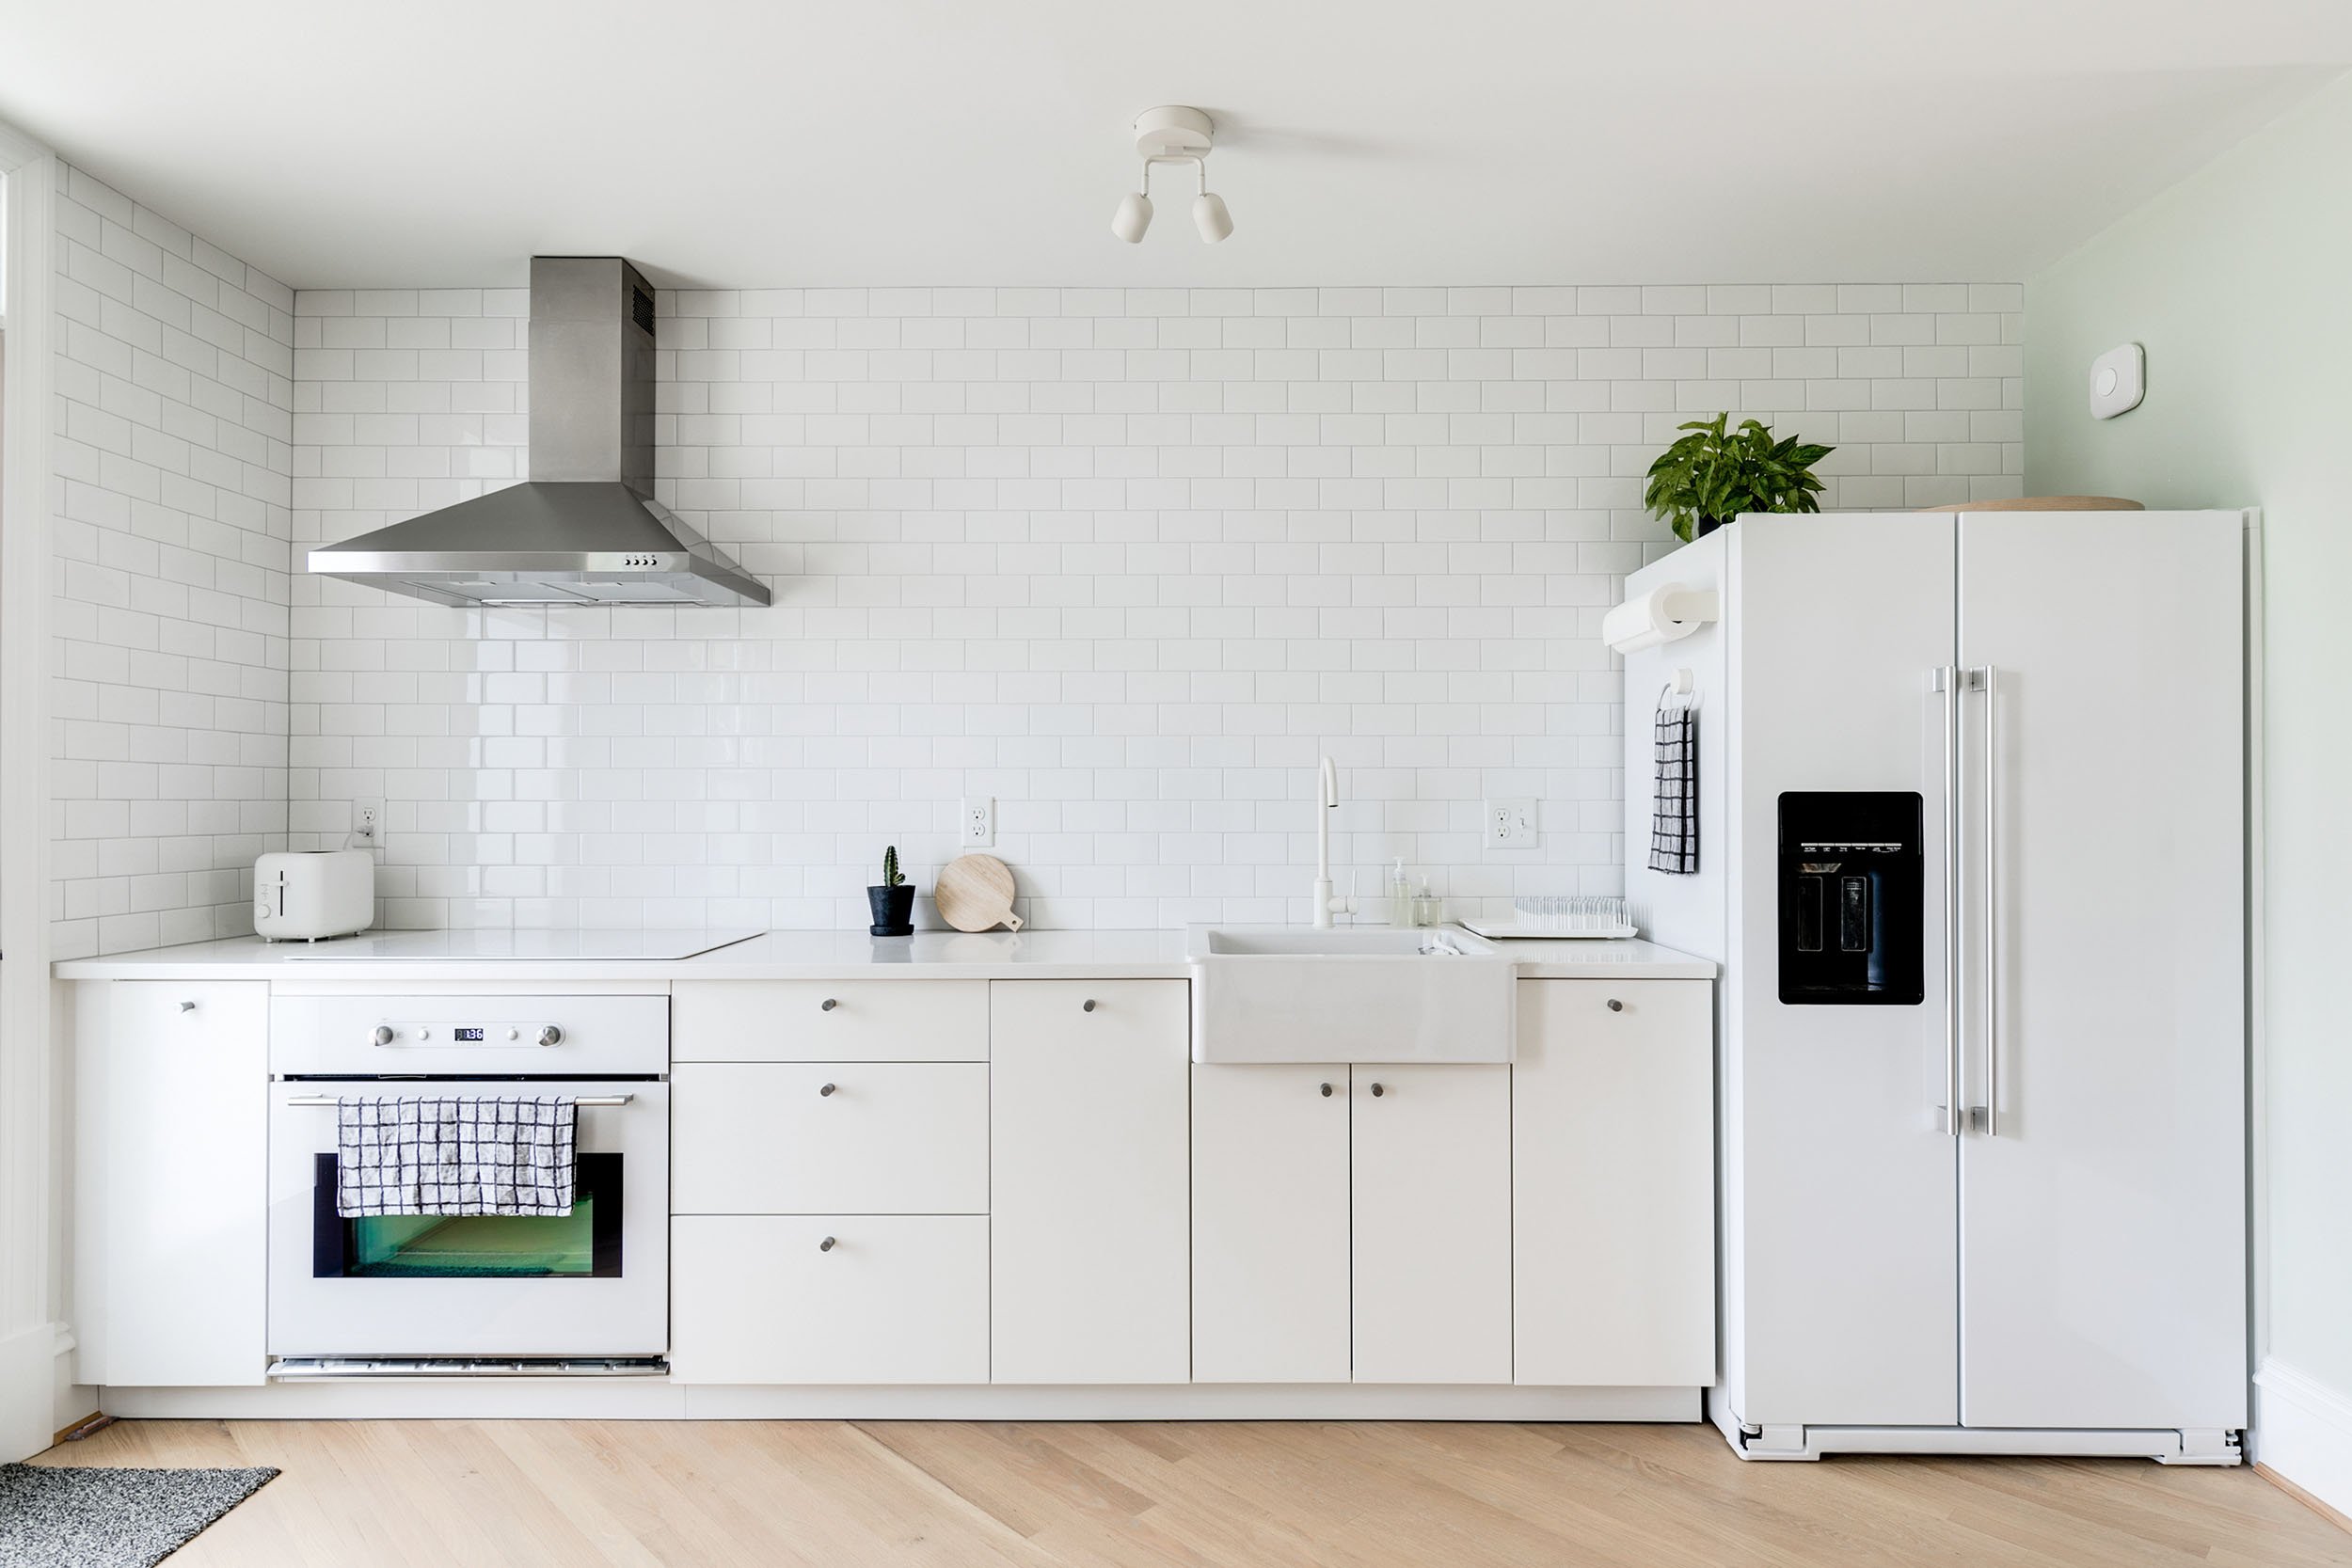
My minimalist yet efficient kitchen in the Fan / Photo credit Mindie Ballard
Define Your Vision
The first step with any organizing project is to establish your vision—your “why” for getting organized. The Minima team loves to declutter and organize, but for most people it’s a means to an end. Your vision for your kitchen could be “Clear countertops so everything is easy to keep clean.” or “An efficient space so I don’t have to waste time searching for things.” or even “An organized food prep space so I can make healthier meals for myself and/or my family.”
Define the Zones
One you’ve established your vision, the biggest key to an organized kitchen is zoning (how categories are grouped and arranged in the space). Every kitchen layout is a little different, but I’ve created a guide below of what ideally goes where.
The kitchen has six core zones: storage, prep, cooking, baking, serving, and clean-up. By creating clear zones, your kitchen will flow and function at its best. The idea of a zone is to be able to plant your feet in one spot and be able to more or less reach everything you need for that zone/function. You may have “sub-zones” such as coffee/tea, or children’s serving.
We always recommend storing things like electronics, office supplies, paperwork, or tools (i.e. “junk drawer” items) elsewhere in the home. However, if it’s important to you to have a few frequent use items accessible, we recommend renaming the junk drawer the “convenience drawer” with a clear spot for each item. This defines a clear purpose and doesn’t give it permission to be a catch-all.
Storage
Zone near the fridge
Pantry
Food bags & wraps
Food storage containers
Prep
Zone around the largest counter area
Mixing bowls
Knives & cutting boards
Specialty tools
Large appliances
Baking
Zone near the oven
Bakeware
Baking tools & accessories
Baking ingredients
Cooking
Zone near the stove
Pots & pans
Spices oil & vinegar
Cooking utensils
Oven mitts & trivets
Serving
Zone near the sink or dishwasher
Dishes & cups
Silverware
Serving utensils
Clean up
Zone near or under the sink
Dish detergent
Sponges
Towels
Kitchen cleaning products
Sort into Zones & Minimize
The next step is to completely empty out out your cabinets and drawers and sort your items into piles or sections according to zones from the list above. You may also have a pile labeled “to go elsewhere” for items you find that don’t belong in the kitchen. This step is akin to dumping the puzzle out of the box and sorting edge, corner, and middle pieces. It may seem daunting, but it’s the best way to create a well zoned and sustainably organized kitchen because it’s so thorough. We find most clients have duplicate items for the same zone scattered throughout the kitchen. Sorting like items together reveals duplication and makes minimizing unneeded items much easier.
For a great minimizing guide, check out our other post: “Beyond Sparking Joy: How to Decide What to Keep or Discard”. If you’re in Richmond, we also created this posts with a list of local donation sites, “Donations for a Good Cause” as well as this list of other organizing resources, “Minima’s Comprehensive List of Organizing Resources”. Our go to donation drop off site for most items is Goodwill. Once you’ve decided to donate something, put it into a donation box or bag and load it into your car. The organizing process isn’t complete until those donations are dropped off. (Donation drop-offs are complimentary for our clients.)
Store Items According to Zones
The next step, which is what most people think of as organizing (we view the whole process as organizing), is actually the easiest because you’ve already done the hard work of sorting and minimizing. When we’re working with our clients, we love to use Post-it super sticky full stick notes and a Sharpie to map out the zones of the kitchen on the cabinets and drawers before we start putting everything away. Once you have minimized, you’ll have a better sense of how much space each zone will require. I included notes in the zone list above as to where each zone is ideally located within the kitchen layout.
Once you’ve put everything away according to zones, you may find some organizing containers will help maximize storage and function. You may also be able to repurpose what you already had at the start of the project. We always recommend waiting until the end of the process before purchasing new containers since there’s no way to know what you will need until you’re at this stage. Here is our go-to list of favorite items to maximize space and function:
For drawers: Linus drawer organizers or Stackable bamboo drawer organizers
For spices: Pull-down spice rack or Spiceliner
For oil & vinegar: Single turntable
For upper cabinets & pantry: Linus pantry bins, Handled pantry baskets or Water hyacinth storage bins
For dry goods like flour, sugar: OXO POP square canisters (also in rectangle)
We also recommend labeling the inside of cabinets and drawers so it’s easy to remember what lives where. This step is also especially helpful if you share the space with others.
You can also check out our Kitchens Portfolio page and our Kitchen Pinterest page for more inspiration. If you’d like in-person support decluttering and organizing your kitchen, simply fill out the form below and we’ll be in touch!
Related reading:
